Winter can be tough on concrete. Freezing temperatures, moisture, ice, and de-icing products all take a toll on driveways and walkways if they’re not properly prepared. The good news is that with a little planning and the right approach, you can protect your concrete surfaces and help them last for years to come.
Here’s what you need to know to keep your concrete winter ready.
Why Winter Is Hard on Concrete
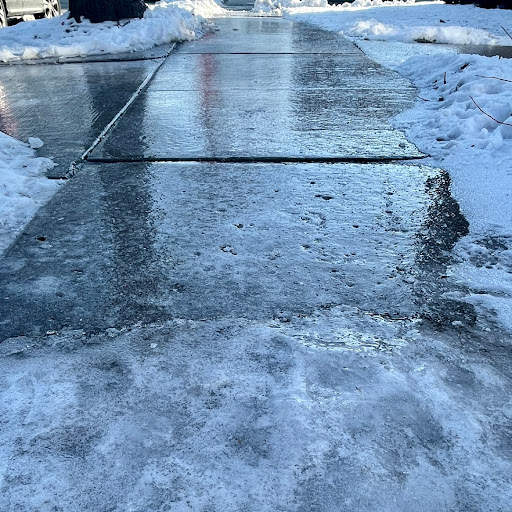
Concrete may look solid, but it’s actually porous. That means water can seep in through tiny openings. When temperatures drop, that trapped moisture freezes, expands, and creates internal pressure. Over time, this freeze thaw cycle can lead to cracking, surface scaling, and deterioration.
Add snow, ice, and de-icing products into the mix, and winter can quickly become the most damaging season for your concrete.
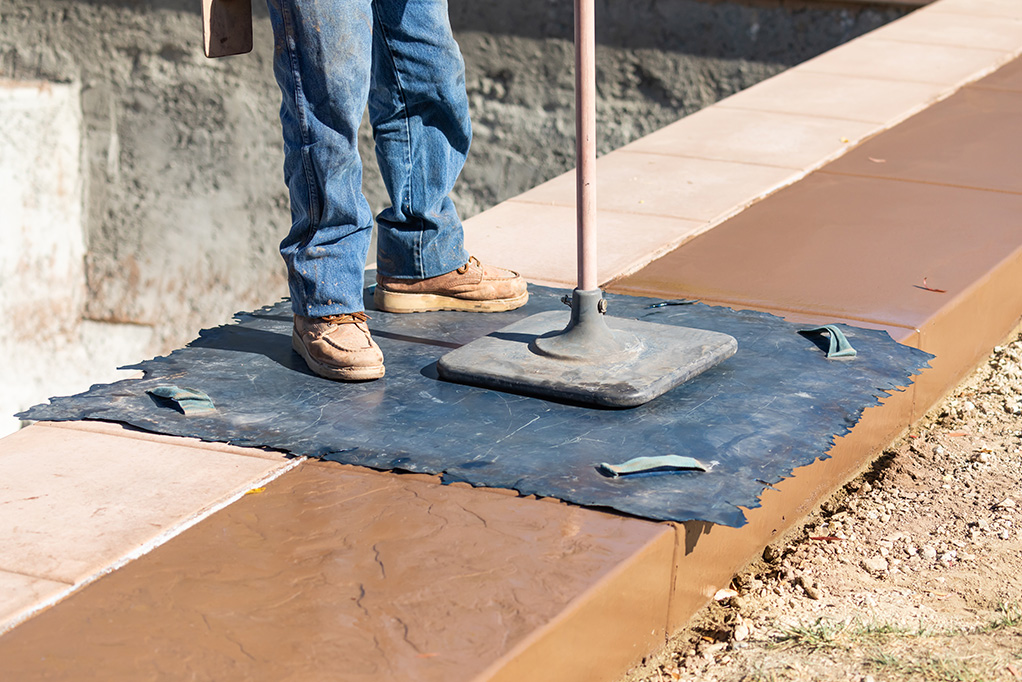
Seal Before the Cold Sets In
One of the most effective ways to protect concrete is sealing it before winter arrives.
A quality concrete sealer helps:- Block moisture from penetrating the surface
- Reduce damage caused by freeze thaw cycles
- Protect against salt and chemical stains
If your driveway or walkways haven’t been sealed in the last few years, fall is the ideal time to apply a fresh coat. If winter is already underway, plan to seal in early spring to prevent long term damage.
Be Careful with Ice Melt Products
Not all de-icing products are created equal. Traditional rock salt can be especially harsh on concrete, increasing the risk of surface scaling and cracks.
To minimize damage:- Avoid products containing calcium chloride or magnesium chloride when possible
- Use sand or kitty litter for traction instead of chemical de-icers
- Apply ice melt sparingly and only when necessary
Choosing gentler alternatives helps protect both your concrete and the surrounding environment.
Shovel Early and Often
Allowing snow and ice to build up increases the amount of moisture sitting on your concrete. Clearing surfaces promptly reduces exposure and helps prevent ice from bonding to the surface.
When shoveling:
- Use plastic shovels instead of metal to avoid surface scratches
- Push snow rather than chipping at ice whenever possible
- Avoid sharp tools that can damage the concrete finish
A little extra care goes a long way toward preserving the surface.
Address Small Cracks Before They Grow
Small cracks might not seem like a big deal, but winter can turn them into major problems. Water easily enters these openings and expands when frozen, making cracks wider and deeper over time.
If you notice minor cracking:
- Clean the area thoroughly
- Use a concrete crack filler or repair compound
- Monitor the repair throughout the season
Catching issues early can help you avoid more costly repairs later.
Avoid Heavy Loads During Freeze Thaw Cycles
Concrete is more vulnerable when temperatures fluctuate around freezing. During these times, try to limit heavy vehicles or equipment on your driveway.
Reducing weight during freeze thaw cycles helps prevent stress fractures and surface damage, especially on older concrete.
Prepare Now, Save Later
Winter doesn’t have to be the season that shortens the life of your concrete. With proper sealing, careful snow removal, smart de-icer choices, and timely repairs, your driveway and walkways can withstand cold weather and come out strong in the spring.
A little preparation now can help you avoid cracks, costly repairs, and premature replacement down the road and keep your concrete looking great year round.
If you’re unsure whether your concrete is properly sealed or need help repairing cracks before winter, professional maintenance can make all the difference.
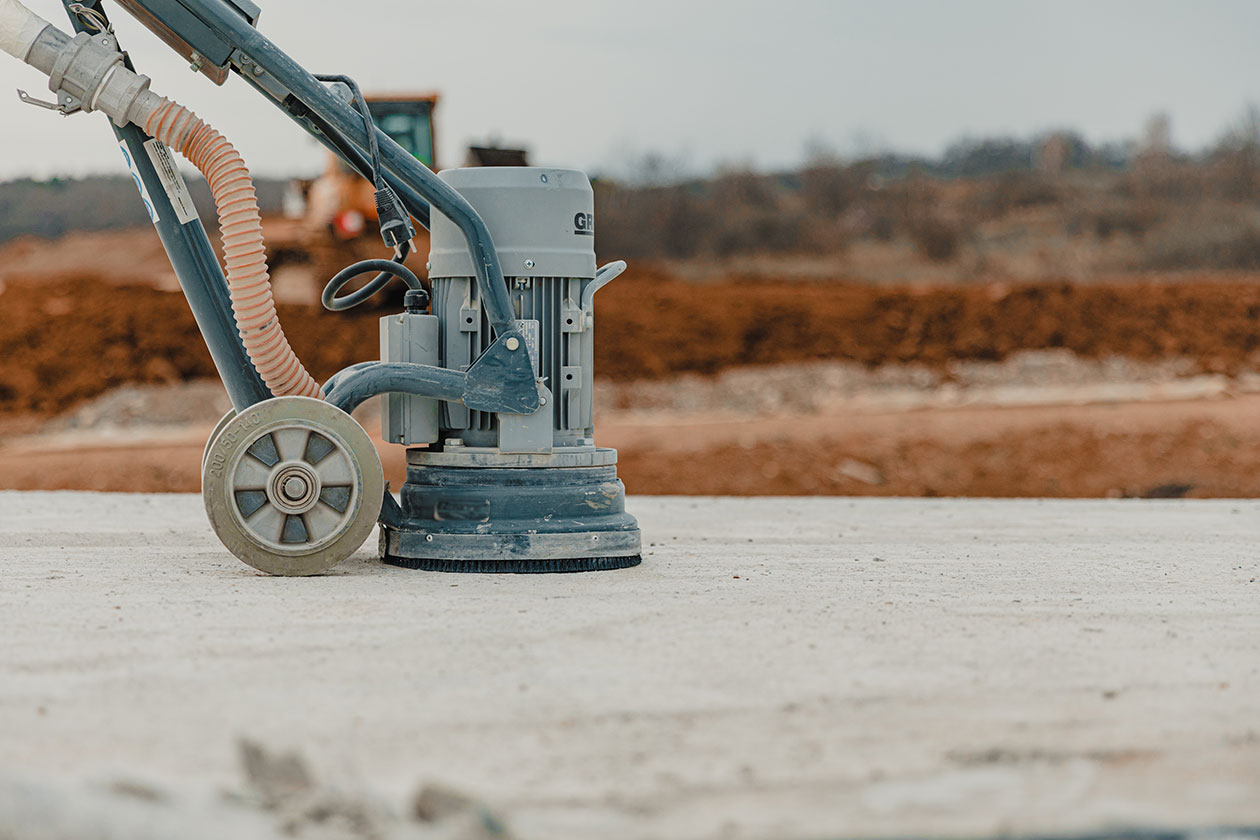
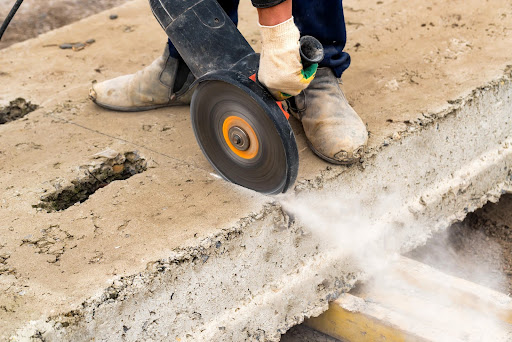
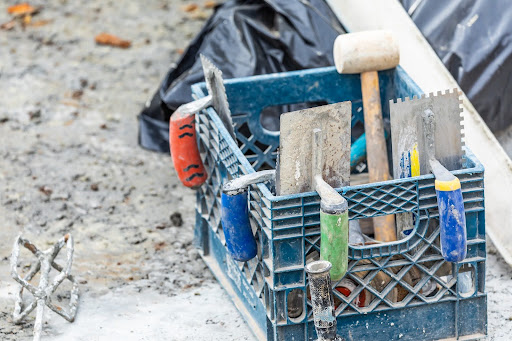 If you’re gearing up for a concrete job, having the right tools on hand is everything. Whether you’re pouring a driveway, laying a patio, or polishing up a finished floor, the tools for concrete work you bring to the site can make or break the job. In this guide, we’re breaking down the must-have equipment—whether you’re just starting out or upgrading your kit—to help you work faster, cleaner, and with better results.
 When you want the timeless look of stone or the warmth of wood—without the high cost or upkeep—stamped concrete patterns are the perfect solution. This versatile decorative concrete technique allows you to replicate premium materials with stunning realism, while still enjoying the strength, longevity, and low maintenance of concrete. Whether you’re upgrading your home’s patio or designing a polished commercial entryway, stamped concrete is a smart, stylish investment.