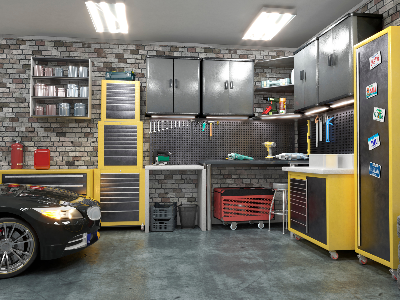
Garage floors endure heavy foot and vehicle traffic, exposure to chemicals, stains, and other potential damages. To protect and enhance the longevity of your garage floor, consider the installation of a reliable and durable garage floor coating with the help of tools and products from Power Rental and Sales!
What are Garage Floor Coatings?
Garage floor coatings are designed to provide a protective layer on concrete garage floors. They offer numerous benefits, including improved durability, resistance to stains, chemicals, and abrasion, as well as enhanced aesthetics. These coatings can transform a dull and worn-out garage floor into a clean, attractive, and long-lasting surface.
How Do Garage Floor Coatings Work?
Garage floor coatings work by creating a robust and seamless barrier on the concrete surface. They typically consist of epoxy, polyurethane, or polyaspartic compounds that, when applied correctly, bond chemically with the concrete, forming a tough, impermeable layer.
The Garage Floor Coating Process Step-by-Step
The process begins by preparing the concrete surface through cleaning, etching, and filling any cracks or imperfections. Once the surface is properly prepped, the coating material is applied in multiple layers. As the coating cures, it hardens and forms a strong bond with the concrete, creating a protective barrier that enhances durability and aesthetics.Step 1 – Surface Preparation
- Clear the garage of all items and debris.
- Repair any cracks or damage using a suitable concrete patching compound.
- Thoroughly clean the floor to remove dirt, oil, grease, and other contaminants.
- Etch the concrete using an acid-based etching solution to promote adhesion.
- Some coating systems may require a primer. If so, apply the primer according to the manufacturer’s instructions.
- Allow it to dry completely.
- Follow the manufacturer’s guidelines to mix the coating material accurately.
- Ensure proper ventilation and wear protective gear, including gloves and goggles.
- Begin by applying the coating along the edges of the garage floor using a brush or roller.
- Use a paintbrush or roller to apply the coating to the main surface area.
- Work in small sections, maintaining a consistent thickness and even application.
- Use a squeegee or roller to smooth the coating and remove any bubbles or excess material.
- Allow the first coat to dry per the manufacturer’s instructions before applying subsequent coats.
- If desired, sprinkle decorative flakes or chips onto the wet coating for added texture and visual appeal.
- Once the final coat is applied, allow it to dry thoroughly.
- The coating will require a specific curing and drying time, typically 24 to 48 hours.
- Avoid parking vehicles or placing heavy objects on the newly coated surface until fully cured.
